Score the board by the shapes it can still accept.
What does the row clear return to the next piece?
This constructed 6×6 audit compares the board before and after one hypothetical horizontal clear.
The clear is useful only if the reopened region still accepts both short and wide shapes.
First bad decision
Fill the final row gaps with a piece that leaves a one-cell stub elsewhere.
- Tempting move
- Fill the final row gaps with a piece that leaves a one-cell stub elsewhere.
- Why it appeals
- A completed row is an obvious reward.
- Actual cost
- The remaining stub may reject every documented shape class in Classic, Timer, or Level play.
Before the next decision
Block Blast jewel puzzle: the four-point re-check
- Inventory vertical and horizontal corridors before dragging.
- Prefer placements that keep at least one large region intact.
- Match the mode: endless patience, timed pace, or staged targets.
- Check rotation or undo only in the current game before relying on it.
Block Blast jewel puzzle’s opening screen
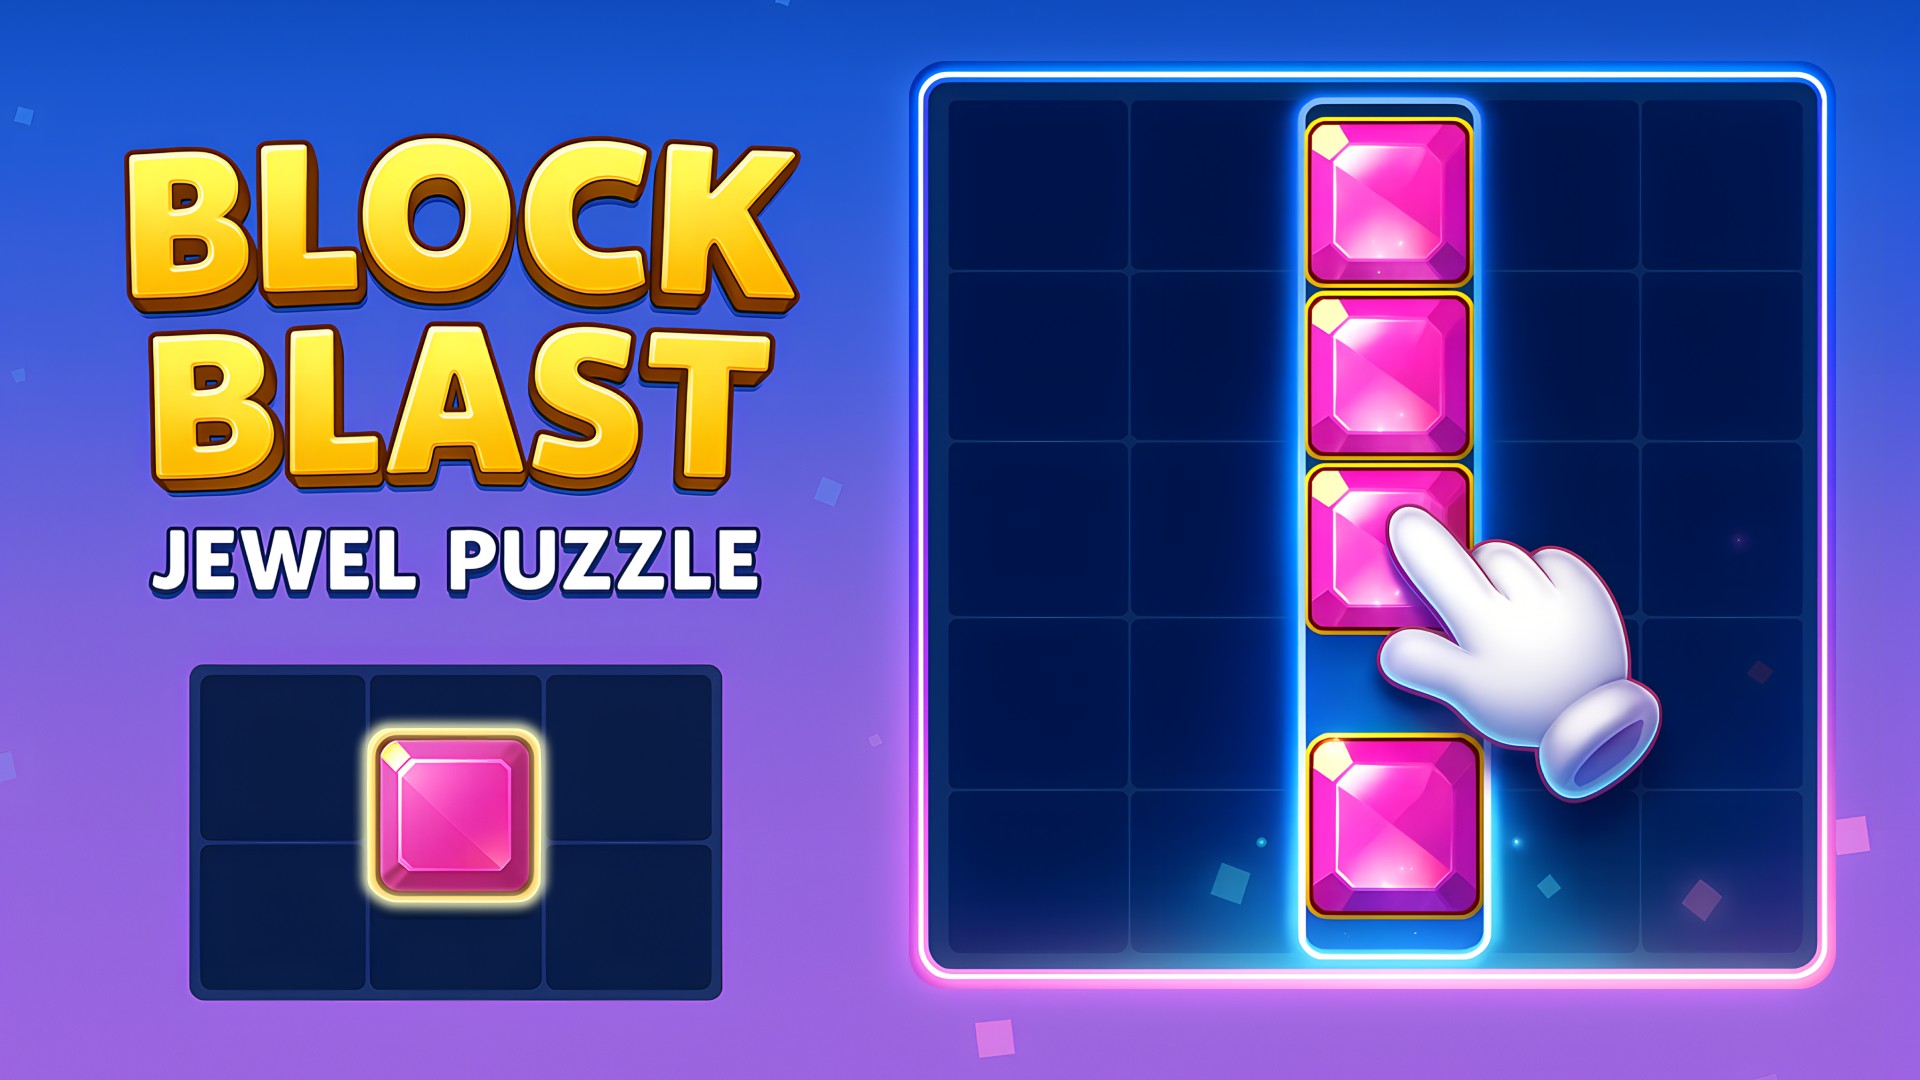
The game opened to an illuminated square grid with jewel-like block shapes waiting below it. A hand marker demonstrated dragging one piece into a legal group of cells. The captured image comes from the active tutorial after loading, so it shows the scale of the board, the available piece shapes, and the contrast used during play rather than a decorative cover.
The opening communicates a familiar but demanding idea: every placement is permanent until a line or other clearing rule removes occupied cells. The important decision is not simply where a piece fits now, but which remaining shapes will still fit afterward.
Footprints decide the next three moves
The listing describes dragging block shapes onto a grid to clear completed rows and columns.
Classic is presented as an endless mode at your pace, Timer as time-pressured play, and Level as structured stages. Those are current source descriptions, not modes we have independently completed.
How footprints shape the next placements
Before moving anything, compare the footprints of all available pieces. Long bars need uninterrupted rows or columns. Corners and compact squares can repair awkward gaps, but using them too early may waste their flexibility. Place the least flexible shape first when it has only one safe location.
Then consider what the placement does to both axes. Completing a horizontal line can open room for a vertical bar on the next turn. A move that fills many cells without clearing anything may look productive while actually reducing the board's capacity.
Avoid building isolated one-cell holes. Many block sets cannot fill them, and several small holes can be more damaging than one large empty region. Keep the center connected to at least one edge so large pieces retain multiple approaches.
Do not chase a line at any cost. If a near-complete row requires sacrificing the only three-by-three area, wait for a better set unless the board is already close to failure. The safest board has varied open shapes: one long lane, one compact area, and several connectors that can absorb irregular pieces.
Desktop players drag with the mouse or touchpad. Touchscreen users tap, hold, and slide with a finger. Begin the gesture from the center of the piece so the target preview is easy to see. Release only after the highlight confirms every cell is legal.
The portrait layout leaves dark margins on a wide monitor but keeps the grid large enough to inspect. On a phone, a finger may cover the destination; approaching from below can help. No keyboard controls were shown, and no audio cue was necessary for the first demonstrated move.
For the first few turns, say the purpose of each placement: line completion, space preservation, or repair. If a move serves none of those purposes, reconsider it. Keep a mental count of the largest empty rectangle and compare that measurement after every turn.
When the game ends, do not focus only on score. Identify the first piece that had no useful location, then look back one or two turns for the shape that created the blockage. That habit turns failure into a concrete lesson about grid geometry.
This title fits visitors who enjoy endless-style block placement, visible clearing feedback, and sessions that can be paused between decisions. The jewel presentation adds brightness without changing the abstract rule. It may feel repetitive for anyone seeking level-specific objectives, narrative progress, or direct competition.
Color contributes to the visual style, but shape and grid position carry the main logic. The inspected tutorial contained no adult theme, realistic violence, gambling offer, or real-world prize.
Playgama displayed a commercial message before the tutorial. That content and any later reward prompts come from the external build. We did not activate a helper, reach a game-over state, or establish whether line clearing occurs horizontally, vertically, or in both directions; those details require a longer run.
The next inspection should record ten complete turns, the scoring response to simultaneous clears, and any recovery offer after failure. Current evidence supports a focused claim: the game launches, accepts drag placement, displays a readable jewel grid, and teaches the player to manage fixed-shape pieces without filling the board into a dead end.
The lower tray should be treated as a single planning problem. Before placing the easiest shape, identify which piece has the fewest legal positions and reserve one of them. Long bars and awkward corners are especially dangerous when the center becomes fragmented. Whenever possible, build toward both a horizontal and vertical clear so one placement can restore space in two directions.
The captured tutorial does not confirm whether a new trio appears only after all current pieces are used or after every individual move. That timing changes strategy and should be documented. A deeper test should also place a piece beside, but not across, a complete line to verify the exact clearing rule. The core quality question is whether failure follows understandable spatial decisions; a late surprise piece that never had a legal position would feel materially different from a board closed by earlier choices.
Apply a line clear before judging the next piece
Suppose a horizontal bar fills the final three gaps in a row. A square is waiting next. Compare the board immediately after placing the bar with the board after the completed row is removed.
Counting the bar as a permanent obstruction can produce the wrong answer: the cleared row may create part of a new square-sized region. Conversely, a placement that clears nothing can leave many isolated empty cells while eliminating every square placement. Inspect the post-clear board and the footprint of the waiting piece together. Our four-by-four guide isolates footprint planning without clears so the difference is visible.
The example does not certify this title’s exact clear animation order, piece refresh rule, or rotation controls.
A large L fits now
A large L fits now
Check whether it destroys two future placements.
Only take it if the remaining region stays flexible.
Board has one ragged row
Use a small piece to flatten it before chasing a multi-line clear.
Irregular cells become placement taxes.
Prefer pieces that preserve rectangular regions.
- Name holes before placing a piece.
- Prefer pieces that preserve rectangular regions.
- Delay awkward pieces until a cleanup shape arrives.
Name holes before placing a piece.
- Name holes before placing a piece.
- Prefer pieces that preserve rectangular regions.
- Delay awkward pieces until a cleanup shape arrives.
- Count corners and single cells as scarce resources.
Best for calm spatial packing and short reset-friendly sessions.
Best for calm spatial packing and short reset-friendly sessions.
Less appealing if you want physics or fast reflexes.
Block Blast jewel puzzle versus coffee color blocks
Block Blast places shapes and clears grid lines. Coffee Color Blocks moves existing shapes toward color-matched gates. Empty-space geometry matters in both, but a filled row is not a gate and the winning actions are different.
Read the comparison overview →A solid placement puzzle when you value board shape over spectacle.
A solid placement puzzle when you value board shape over spectacle.
Editorial synthesis: Apply a line clear before judging the next piece
The distinctive decision is placement order. In a block-clearing puzzle, a line that can be completed immediately is not always the best line if it seals the only cavity for a larger piece. The article treats each placement as both a score opportunity and a commitment of future geometry. That lets readers compare moves by the shape of the remaining board rather than by the next instant reward. The practical test is simple: after a proposed clear, can the next two likely shapes still enter without creating an isolated cell? This is a more durable lesson than a level-specific tip and remains useful even when the source adds new pieces or effects.